
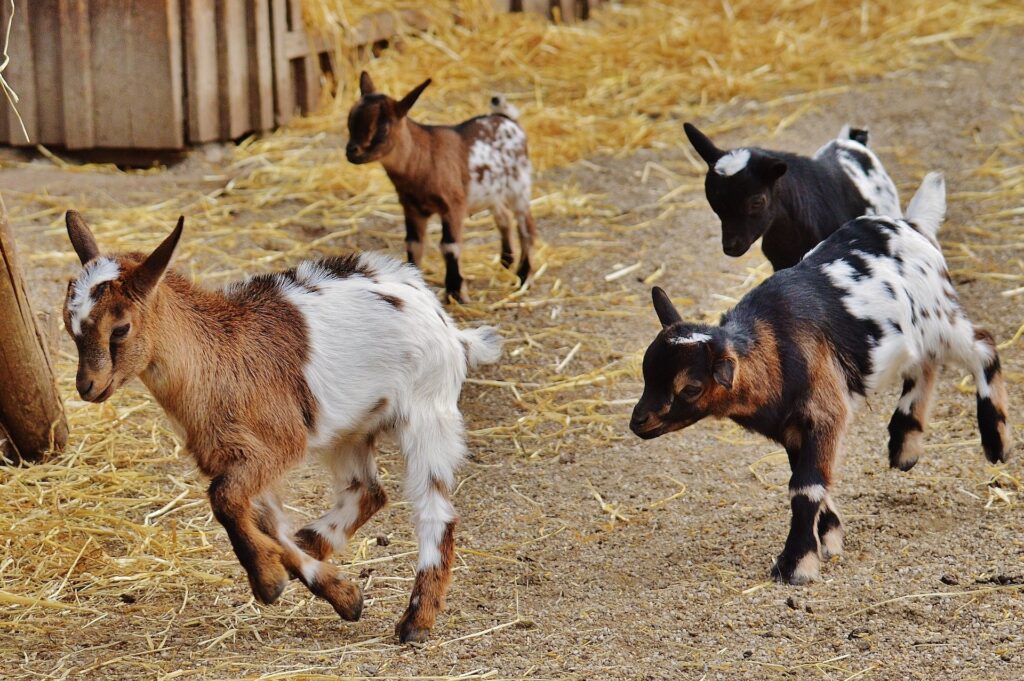
Chevre, the French word for goat cheese, has a rich history and a timeless appeal. With its creamy texture and tangy flavor, it’s a favorite among cheese enthusiasts. To protect our goat farm from termites, I had my technician that did my Orlando Termite Treatment on my home, also treat my farm. If you need to treat your house or farm for termites in the Orlando area, make sure you give Orlando Termite Treatment a call.
Ingredients You’ll Need:
Before we embark on the Chevre-making journey, let’s gather our ingredients:
- Goat’s Milk: The star of the show, you’ll need fresh goat’s milk. The quality of the milk greatly influences the final product, so ensure it’s of high quality.
- Chevre Culture: This is a special blend of bacteria that acidifies the milk and contributes to the cheese’s characteristic flavor.
- Rennet: Rennet is an enzyme that helps coagulate the milk, forming curds. It’s available in liquid or tablet form.
- Salt: A key ingredient for flavor and preservation.
Equipment You’ll Need:
- Large Stainless Steel Pot: Use a stainless steel pot for heating the milk, as it’s easy to clean and won’t react with the acid in the cheese.
- Thermometer: A food thermometer is essential to monitor the milk’s temperature accurately.
- Cheese Mold: Choose a mold designed for making Chevre, or improvise with a colander lined with cheesecloth.
- Cheesecloth: You’ll use this to strain the curds from the whey.
- Cheese Aging Container: This can be a container with a lid, such as a plastic tub or glass jar, for aging the Chevre.
Step-by-Step Chevre Making:
1. Prepare Your Work Area:
Start by ensuring your kitchen is clean and sanitized. Wash all equipment and utensils thoroughly, including your cheese mold and aging container. Maintaining a clean environment is crucial to avoid contamination.
2. Heat the Goat’s Milk:
Pour your fresh goat’s milk into the large stainless steel pot. Heat the milk over low to medium heat while stirring gently to prevent scorching. Use your food thermometer to monitor the temperature. You’ll want to heat it to around 86°F (30°C).
3. Add Chevre Culture:
Once the milk reaches the desired temperature, remove it from heat. Sprinkle the Chevre culture evenly over the surface of the milk. Allow it to rehydrate for a few minutes, then stir gently to distribute the culture evenly.
4. Coagulation with Rennet:
In a separate container, dilute the rennet according to the manufacturer’s instructions. Typically, this involves mixing a small amount of rennet with water. Slowly pour the diluted rennet into the milk while stirring gently but consistently.
5. Allow Curds to Form:
Cover the pot and let the milk sit undisturbed for about 12-24 hours at room temperature. During this time, the Chevre culture and rennet will work their magic, causing the milk to coagulate and form curds. The length of time may vary depending on factors like room temperature and the desired flavor and texture of your Chevre.
6. Check for Curd Formation:
After the waiting period, check for curd formation. You should see a solid mass (the curds) surrounded by liquid (the whey). The curds should be relatively firm, and when cut with a knife, they should release a clear whey.
7. Cut and Drain the Curds:
With a long knife, cut the curds into small cubes, about ½ inch in size. This allows more whey to escape and aids in further curd formation. Let the curds rest for about 5 minutes.
8. Gently Stir and Heat:
Gently stir the curds while heating them over low heat. Gradually raise the temperature of the curds to about 110°F (43°C), stirring occasionally. This process helps expel more whey and develop the desired texture.
9. Drain the Curds:
Line your cheese mold with cheesecloth, and carefully ladle the curds into it. Allow the whey to drain from the curds for several hours or overnight. You can tie the corners of the cheesecloth and hang it over a container to catch the whey.
10. Salt the Chevre:
After draining, remove the Chevre from the mold and transfer it to a clean container. Sprinkle salt over the cheese and gently mix it in to taste. The amount of salt can vary depending on your preference, but a teaspoon per pound of cheese is a good starting point.
11. Age the Chevre:
Now, it’s time for the Chevre to mature and develop its flavors. Place it in an aging container with a lid and store it in the refrigerator. You can age it for as little as a few days to several weeks, depending on your desired taste and texture.
12. Enjoy Your Homemade Chevre:
Once your Chevre has aged to your liking, it’s ready to savor. Use it as a spread, in salads, or as a topping for various dishes. Your homemade Chevre will have a creamy texture and a tangy, slightly acidic flavor that’s perfect for a variety of culinary creations.
Final Thoughts:
Making Chevre at home is a rewarding culinary adventure that allows you to savor the taste of artisanal goat cheese right from your kitchen. You’ll appreciate the precision required in each step. With practice and a bit of experimentation, you can perfect your Chevre-making skills and create a delightful cheese that will impress family and friends alike. So, roll up your sleeves, gather your ingredients, and start crafting your own creamy, tangy Chevre today.